

Italian Easter Cookies: How to Make Them Perfectly Every Time
Looking for a sweet treat that will wow your family this Easter? Italian Easter cookies might just be your new favorite! These cookies are a delightful blend of creamy, flavorful, and just the right amount of sweet, making them irresistible. Imagine your kitchen filled with the aroma of freshly baked cookies, the perfect backdrop for your Easter celebrations.
Did you know that Italian Easter cookies have been a cherished tradition for centuries? They symbolize spring and renewal, often passed down through generations. These cookies are more than just a dessert; they’re a piece of history and culture, offering a taste of Italy right in your home.
What makes these cookies special is their simplicity. With just a few ingredients, you can create a batch that’s both quick to prepare and perfect for family gatherings. Whether you’re a baking novice or a seasoned chef, Italian Easter cookies are easy enough for anyone to enjoy.
If you loved our chocolate chip cookies, you’ll adore these Italian Easter cookies! Their unique flavor and texture will make them a hit at any gathering. Why not give it a try and see the joy on your family’s faces as they take their first bite?
Table of Contents
What is Italian Easter Cookies?
Ever wondered why these cookies are called Italian Easter cookies? The name itself is a delightful glimpse into their origin and significance. These cookies are traditionally given to children as gifts during Easter, symbolizing happiness and new beginnings. It’s a sweet way to celebrate the season of renewal and joy.
The tradition of sharing these cookies is a heartwarming one, much like the saying, “the way to a man’s heart is through his stomach.” With a history steeped in culture and love, these cookies are more than just a dessert—they’re a gesture of care and tradition. Ready to create your own piece of this tradition? Let’s dive into the recipe!
Why You’ll Love This Italian Easter Cookies
There are three main reasons you’ll love Italian Easter cookies: their simplicity, cost-saving benefits, and flavorful toppings.
Firstly, these cookies are incredibly easy to make. With minimal ingredients and quick preparation time, you can have a batch ready in no time. Unlike other baked goods that may require hours of preparation, Italian Easter cookies are an efficient and delicious option.
Secondly, making these cookies at home is a cost-effective choice. Why spend money on store-bought treats when you can create something equally delightful and customizable in your kitchen?
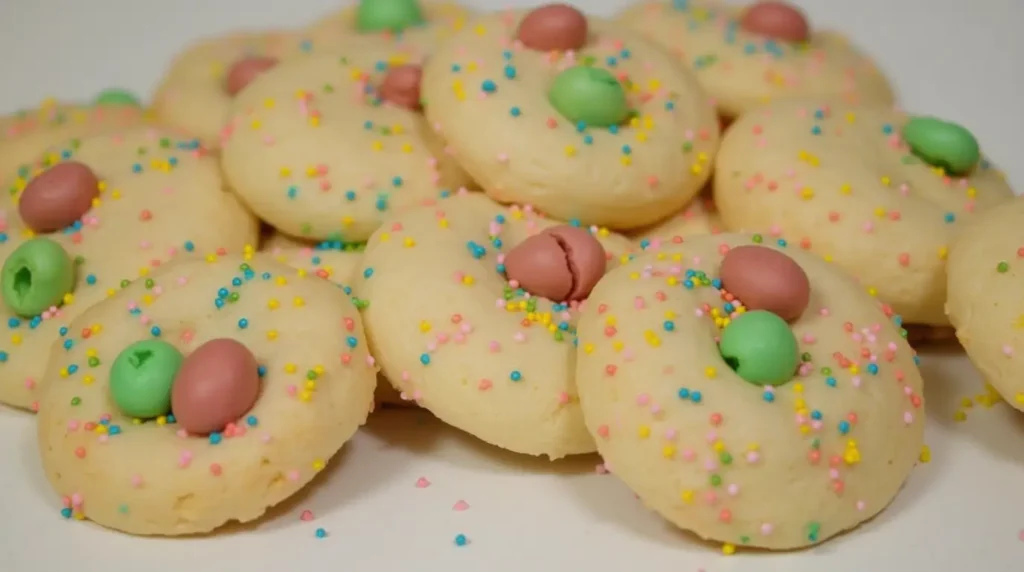
Lastly, the flavor and topping options are endless. From classic vanilla to chocolate, and topped with everything from nuts to colorful sprinkles, these cookies offer a variety of tastes to suit everyone’s preferences.
If you haven’t tried our chocolate chip cookies yet, you’re in for a treat. Both recipes offer a similar ease and deliciousness, making them perfect additions to your baking repertoire.
Why not start your tradition today and create these cookies for your family? The satisfaction of serving a homemade treat, rich in history and flavor, is incomparable.
Quick Overview
Italian Easter cookies are known for their simplicity, taste, and satisfying texture. This recipe is quick, taking about an hour from start to finish, and perfect for any occasion. Whether you’re baking for Easter or just a sweet craving, these cookies deliver on flavor without the fuss.

Key Ingredients
Here’s what you’ll need to make Italian Easter cookies:
- Butter: For that rich, buttery flavor
- Sugar: To sweeten the mixture
- Vanilla Extract: For a touch of aromatic essence
- Egg: To bind the dough
- Flour: For the base of the cookies
- Baking Powder: To ensure they rise nicely
Each ingredient plays a crucial role in achieving the perfect cookie. Gather these and let’s get baking!
Step-by-Step Instructions
- Preheat the Oven: Start by preheating your oven to 350°F (175°C).
- Mix Dry Ingredients: In a bowl, whisk together 1 cup of flour, 1 teaspoon of baking powder, and a pinch of salt.
- Combine Wet Ingredients: In another bowl, cream together ½ cup of butter and ¾ cup of sugar until smooth. Add 1 egg and 1 teaspoon of vanilla extract, mixing well.
- Combine Mixtures: Gradually add the dry ingredients to the wet mixture until fully incorporated.
- Shape the Dough: Roll the dough into small balls and place them on a baking sheet lined with parchment paper.
- Bake: Bake for about 12 minutes, or until golden brown.
- Cool and Decorate: Allow the cookies to cool before decorating with your favorite toppings.
What to Serve With
Italian Easter cookies pair wonderfully with a steaming cup of coffee or tea. For a complete dessert experience, serve them alongside a light dessert wine or a refreshing fruit salad. They also make an excellent addition to a cheese platter or a charcuterie board.
Top Tips for Perfecting Italian Easter Cookies
- Substitutions: If you prefer, you can substitute the vanilla extract with almond extract for a different flavor profile.
- Timing: Be careful not to overbake the cookies, as they can become too crispy.
- Presentation: Get creative with your toppings—chocolate chips, nuts, or colorful sprinkles add a fun touch.
Storing and Reheating Tips
Store your Italian Easter cookies in an airtight container at room temperature for up to a week. For longer storage, freeze them for up to three months. To reheat, place them in the oven at 350°F (175°C) for about 5 minutes or microwave for a quick refresh.
Enjoy your baking adventure and treat your loved ones to these delightful Italian Easter cookies. Buon appetito!
FAQ: Italian Easter Cookies
Q: Can I make these cookies gluten-free?
Absolutely! Swap the all-purpose flour for a 1:1 gluten-free baking blend. Just ensure your baking powder is gluten-free too. The texture will be slightly denser but still delicious.
Q: Can I use margarine instead of butter?
Yes, but the flavor and texture will differ slightly. Butter adds richness, but margarine works in a pinch for a dairy-free version.
Q: Why did my cookies spread too much?
Over-softened butter or warm dough can cause spreading. Chill the dough for 10–15 minutes before shaping if it feels sticky.
Q: Can I freeze these cookies after glazing?
It’s best to freeze unglazed cookies. Glaze them after thawing for fresher flavor and crunchier sprinkles!
Q: How long do these stay fresh?
Stored in an airtight container, they’ll keep for up to 1 week. For longer storage, freeze unglazed dough or baked cookies for 3 months.
Did You Give Our Recipe a Go?
There are no reviews yet. Be the first one to write one.
